Ruffle Quilt
Materials:
Yardage is based on 44” wide
fabric (standard 45” with the ½“ selvage trimmed )
¼ yd of 20 fabrics
44 x 64 batting
1¾ yd fabric for backing
Cut:
All measurements include ¼”
seam, (unless otherwise noted)
From each of the 20 fabrics
cut:
1 strip 3½” x 40½” (if you want to have a 2” border)
1 strip 3½” x 44” (if you do not want a 2” border)
2 strips 3” x 44”
Directions
Sew the 3” x 44” strips of
each fabric right sides together at the ends to create a
3” x 87½” strip.

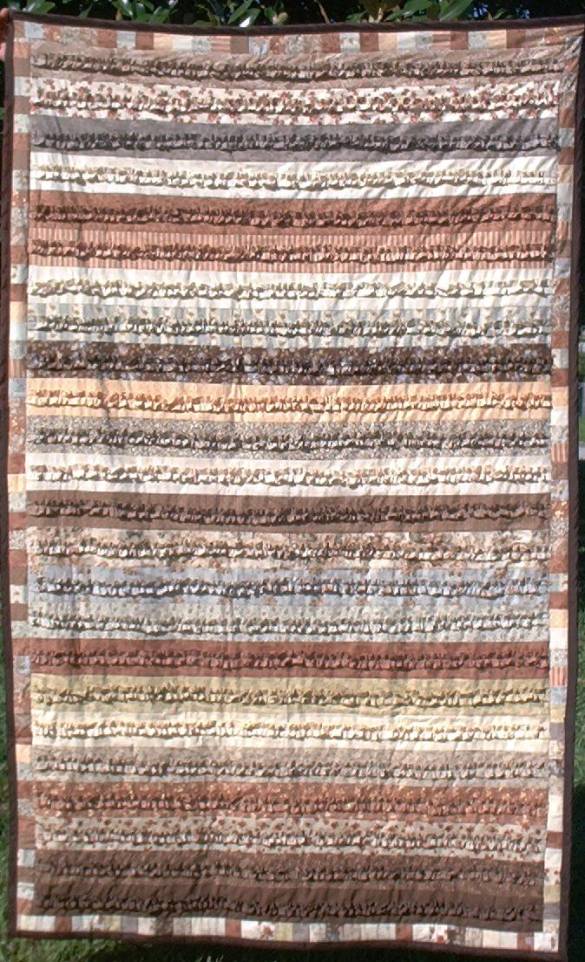
Turn a ½” on both sides
under and hem. ¼”
![]()
![]()
Then zigzag this will keep
the fabric from fraying.
![]()

Press !!!
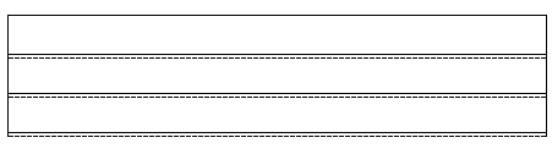
Turn your machine to a
basting stitch and run a stitch down the middle of the 2” fabric.
![]()

Then very gently pull your
bottom thread out when doing this it will begin to create a ruffle. Be careful not to break the thread.
Sew the 3 ½” strips
together, side-by-side. Press all the seams in one direction.
Assemble the quilt sandwich
(backing, top, and batting) pin your quilt, but no pins in the middle of your
3½” strips, that is where you will pin your ruffles.
Fold your ruffle piece in
half lengthwise to find the center point.
Find the center point on
your quilt and pin the center of the ruffle to the center of the quilt.
Next, take one end of the
ruffle and expand it to the side edge of the quilt and pin the end. Repeat the
process on the other half of the ruffle. You can then adjust the ruffle to make
it even and then pin along the length to hold it in place.
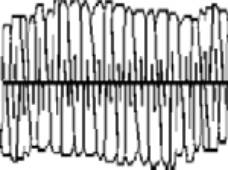
Ruffle closed Ruffle opened
Now you can quilt in the
middle of the ruffle.
Trim and add binding.
You can add a border but the
batting and backing must be increased by the inches you want for border.
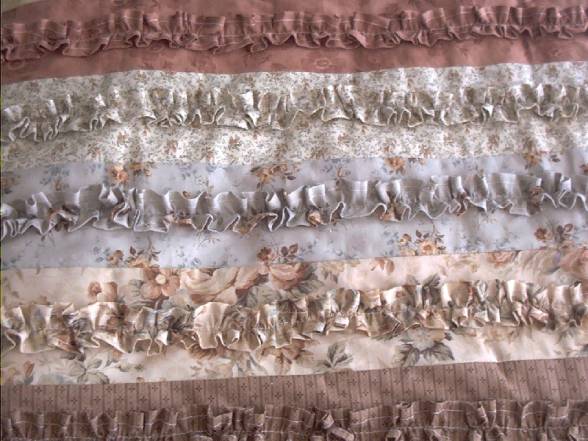
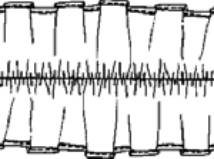
Closeup of ruffles